 EN
EN

Pick the Right Drywall Screw Before Touching the Ceiling
Ceiling drywall is not wall drywall turned sideways. Gravity pulls constantly, vibration from HVAC or foot traffic travels through the framing, and the paper face is under different stress. A drywall screw that works fine on a vertical wall can still fail overhead if the thread, length, or head style is wrong. The goal is simple: pull the panel tight to the framing without tearing the paper, and keep it tight.
Why Ceiling Work Punishes the Wrong Fastener
Overhead panels depend on clamping force, not just point contact. When a screw is driven too deep, the paper cone breaks and holding value drops. When it sits too high, the panel rattles and joint compound cracks later. ASTM C840 and Gypsum Association GA-216 treat ceiling fastening as a separate condition from wall fastening, with closer edge spacing and more attention to screw depth. Ceiling framing moves differently under load: wood shrinks and swells with moisture, while steel can flex under thermal cycling. The fastener has to match both substrate and panel.
Match Screw Type and Length to the Framing
The first decision is the substrate. Light gauge steel framing needs a fine thread drywall screw that can bite into thin metal without walking. Wood framing needs a coarse thread screw that grabs the grain and resists pullout. Length follows panel thickness plus penetration. For 1/2 in. ceiling board on steel framing, 1-1/4 in. screws are common. For 5/8 in. board, 1-5/8 in. screws are often the practical choice. On wood framing, add enough length to enter the wood at least 5/8 in. without poking through the back.
| Framing material | Thread type | Common screw length for 1/2 in. board | Common screw length for 5/8 in. board | Driving note |
| Light gauge steel | Fine thread | 1-1/4 in. | 1-5/8 in. | Use a dimpler or clutch setting that stops before paper tear |
| Wood | Coarse thread | 1-1/4 in. to 1-1/2 in. | 1-5/8 in. to 2 in. | Avoid overdriving into soft grain |
| Steel, double layer | Fine thread | 1-5/8 in. | 2 in. | Increase length for the second layer, not driving force |
| Wood, double layer | Coarse thread | 1-5/8 in. to 2 in. | 2 in. to 2-1/2 in. | Keep screws offset from first layer fasteners |
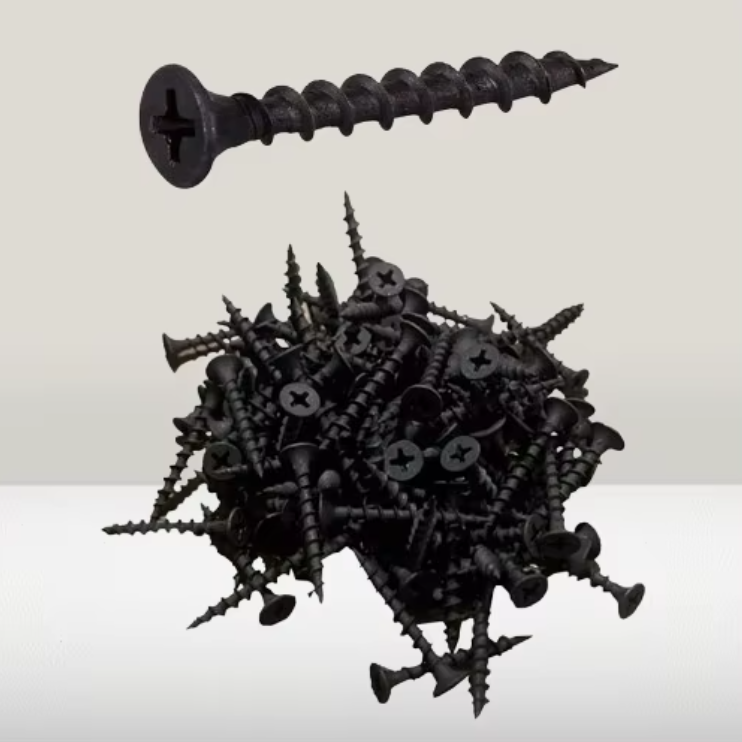
Head style also matters. Bugle head screws are designed to dimple the paper without cutting through it. Phillips drive remains common, but square drive and combo drive reduce cam-out when tool torque is high. Phosphate or black phosphate coatings help with paint adhesion and mild corrosion resistance. For damp interior spaces, a coated screw is a better call than a bare one.
Set Spacing, Depth, and Driving Technique
Ceiling panels should be held tight and evenly. A common field spacing is 12 in. on center, with screws closer at edges, often 8 in. on center. Butt joints and perimeter edges need extra attention because those areas carry more stress. The panel should be pushed up into contact with the framing before the screw is driven. If the board is bowed, start from the center and work outward. That sequence pushes air and gaps toward the edges instead of trapping them.
Depth control is where many ceiling jobs go wrong. The screw head should sit just below the surface, creating a shallow dimple, with the paper intact around the rim. A drywall screw gun with an adjustable nose cone is the fastest way to repeat that depth. A standard drill can work, but the clutch must be set low and tested on a scrap piece first. Overhead work makes it harder to feel the moment the head seats, so a consistent tool setting beats hand feel.
Avoid the Mistakes That Show Up Weeks Later
One industrial ceiling retrofit in the south used 1-1/4 in. coarse thread screws on light gauge steel trusses. The crews thought the screws were biting because the panels felt tight. Weeks later, popped heads appeared along the truss lines. The coarse threads had deformed the thin steel instead of cutting cleanly. Switching to fine thread phosphate drywall screws, reducing driver torque, and adding screws at the perimeter solved the problem. The lesson was not about a single brand. It was about matching thread geometry to the metal.
Other common errors include:
-
Driving screws at an angle, which tears the paper and reduces clamp load.
-
Leaving screws too proud, then trying to hide them with extra compound.
-
Using too few screws at butt joints, which invites cracks.
-
Reusing old screws with damaged heads, which slows installation and raises cam-out.
-
Mixing screw types in the same ceiling, which makes troubleshooting harder.
Quality Hardware and Supply Chain Matter
Consistent ceiling results start with consistent fasteners. Boxes of mixed lengths, soft heads, or uneven threads create callbacks that cost far more than the screws. Zhongsheng Hardware has supplied DIY hardware assortments and blister-packed fastener sets since 1993, with manufacturing experience across PS, PP, ABS, and PVC packaging. For buyers who need stable specifications, repeatable thread quality, and organized retail-ready packaging, that kind of supply chain depth keeps projects moving. A ceiling is only as reliable as the small parts holding it up.