 EN
EN

Why Popping Happens Before the First Coat of Paint
A drywall screw pop rarely starts as a screw problem. The fastener is usually just the messenger. Wood framing shrinks across the grain as moisture content drops from 19 percent to 8 percent. The board stays relatively stable, so the shrinking joist pulls away from the screw head. A screw set too shallow or driven at an angle gets pushed forward until the compound cracks. Truss uplift, poor backing, and movement at butt joints make the same failure easier. In humid climates or during winter heating, pops can show up weeks after finishing. The issue is systemic: framing moisture, fastener depth, spacing, and board stress all matter.
Match the Screw to the Framing and Board
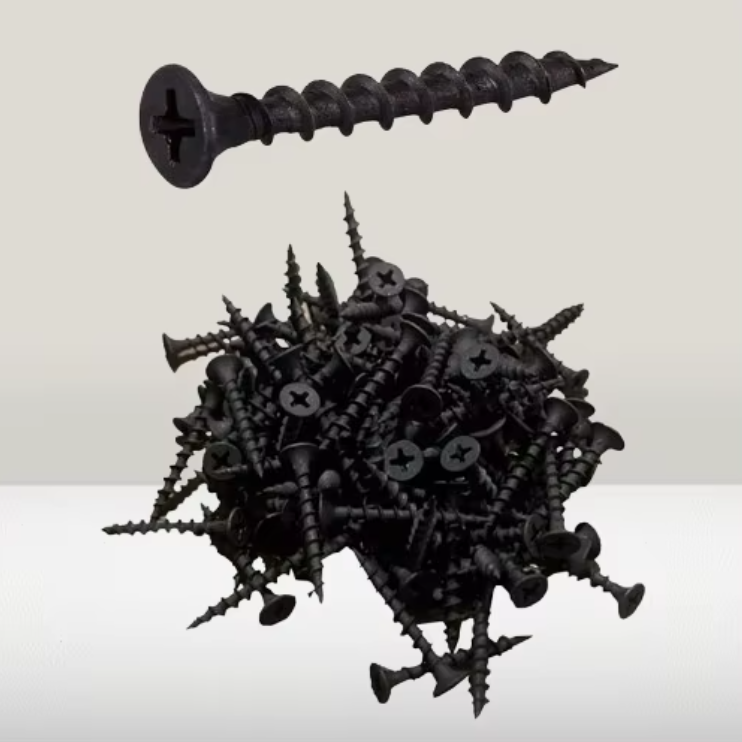
Not every drywall screw belongs in every substrate. Coarse threads bite into wood studs and joists. Fine threads are made for steel studs. A coarse screw forced into metal track can strip, while a fine screw in soft pine can lose holding power. Length matters too. For 1/2 inch board on wood, 1-1/4 inch screws are common. For 5/8 inch board, 1-5/8 inch screws pass through the board and still bury at least 5/8 inch into framing. Bugle heads countersink without tearing the paper face. Sharp points suit wood, while self-drilling points handle heavier metal. The wrong head, thread, or length may pass inspection, then fail once seasonal movement starts.
Set Depth and Drive Torque with Real Control
Overdriving is the quiet cause behind many pops. A screw gun with a worn clutch can bury the head too deep, break the paper, and destroy holding value. A head left proud of the surface is just as bad. The goal is a dimple, not a crater. The screw head should sit slightly below the surface without cutting the face paper. Adjust the nose cone and clutch on scrap material before starting a room. Keep the tool straight to the framing. Angled screws create a pivot point and can back out as framing dries. On ceilings, extra care pays off because gravity and insulation weight work against the assembly. A simple pull test can reveal whether the fastener grips framing or only spins in crushed gypsum.
Space Fasteners for Movement, Not Just Holding Power
Spacing controls how movement is distributed. Tight spacing can crush the core and create a rigid line that cracks. Wide spacing lets the board flex between fasteners. ASTM C840 and Gypsum Association GA-216 provide baseline maximums, but job site conditions often call for tighter edge spacing. The table below shows common starting points for wood-framed assemblies. Follow the project specification when it is stricter.
| Application | Edge | Field | Screw length | Notes |
|---|---|---|---|---|
| 1/2 in. wall, wood | 8 in. | 12 in. | 1-1/4 in. | Keep 3/8 in. from edges. |
| 5/8 in. wall, wood | 8 in. | 12 in. | 1-5/8 in. | Fire or acoustic walls. |
| 1/2 in. ceiling, wood | 7 to 8 in. | 12 in. | 1-1/4 in. | Tighter edge spacing helps. |
| 5/8 in. ceiling, wood | 7 to 8 in. | 12 in. | 1-5/8 in. | Check joist spacing. |
| Steel stud, 1/2 in. board | 8 in. | 12 in. | 1 in. fine | Self-drilling as needed. |
Use Adhesive and Backing to Reduce Joint Stress
Screws alone are not always the best strategy. Construction adhesive applied to framing before board installation can share the load and reduce screw movement. Apply a continuous bead where the board meets the stud or joist, using an adhesive compatible with both materials. Backing at butt joints and inside corners gives the board a place to land, so fasteners are not forced to bridge a gap. In ceilings, resilient channel or furring can decouple the board from framing movement, though it adds cost and changes screw selection. A 2021 retrofit of a coastal Virginia medical office offered a field lesson. Ceiling board went up before the HVAC system was balanced. Summer humidity swelled the joists, then winter heating shrank them. Pops appeared in a neat line along every joist. Adhesive and moisture control before close-in would have reduced that movement.
Fix and Prevent Pops During Finishing and Retrofit
A visible pop needs more than a dab of compound. Tightening the original screw often fails because the framing has moved and the hole is enlarged. A better repair is to drive two new screws about 2 inches on either side of the pop, set them properly, then remove or reset the original fastener. If the board is crushed, a small patch may be needed. For prevention, let framing acclimate, verify moisture content before hanging board, run HVAC before finishing when possible, and use the right screw for each substrate. Finishing compound should dry fully before sanding. Trapped moisture can mimic a pop and lead to a callback. In high-movement areas, a repair that only hides the symptom usually returns with the next season.
For buyers who need consistent drywall screw assortments, Zhongsheng Hardware has supplied blister-packed DIY hardware since 1993. The company's production covers PS, PP, ABS, and PVC plastic-absorbing boxes, along with custom manufacturing to client requirements. Its experience with thread geometry, head styles, coatings, and retail-ready packaging helps distributors keep fastener kits uniform from one order to the next.